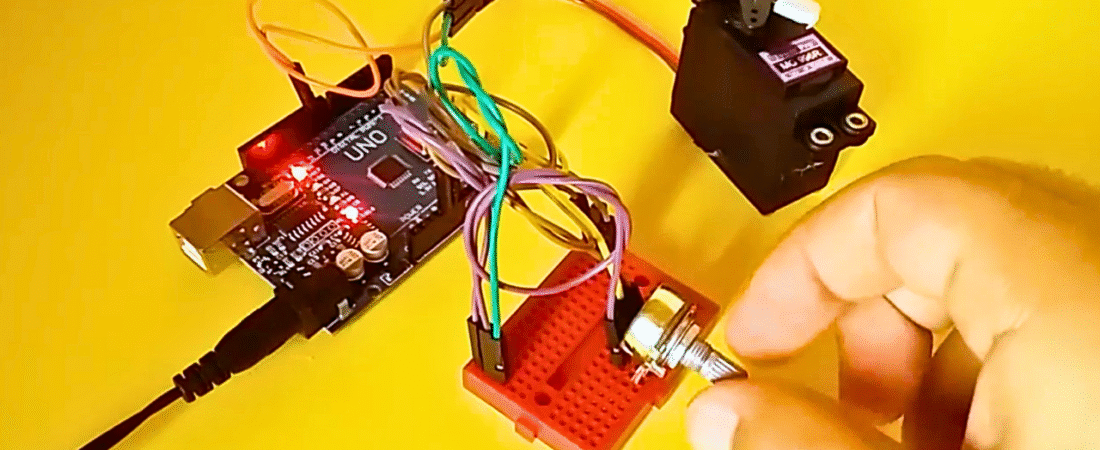
Control the position of a hobby (RC) servo motor using your Arduino and a potentiometer. This simple project lets you rotate a servo shaft precisely according to the position of a potentiometer knob.
⚠️ Important Note:
I recommend you do not connect the servo motor directly to the Arduino. Always use an external 5V power supply for the servo.
The SG90 Mini RC servo is safe to use with Arduino, but high-torque servos such as the MG996 can draw too much current and damage your board.
MG996 Specs:
- Stall Torque: 9.4kg·cm (4.8V) – 11kg·cm (6.0V)
- Operating Voltage: 4.8V – 6.6V
In this tutorial, I’ll show you the connections, code, and how to control the motor step by step, without going deep into motor theory.
Components Required
- Arduino Uno or Genuino Board
- Servo Motor (e.g., SG90 or MG996)
- 10kΩ Potentiometer
- Hook-up wires
- Mini Breadboard
Circuit
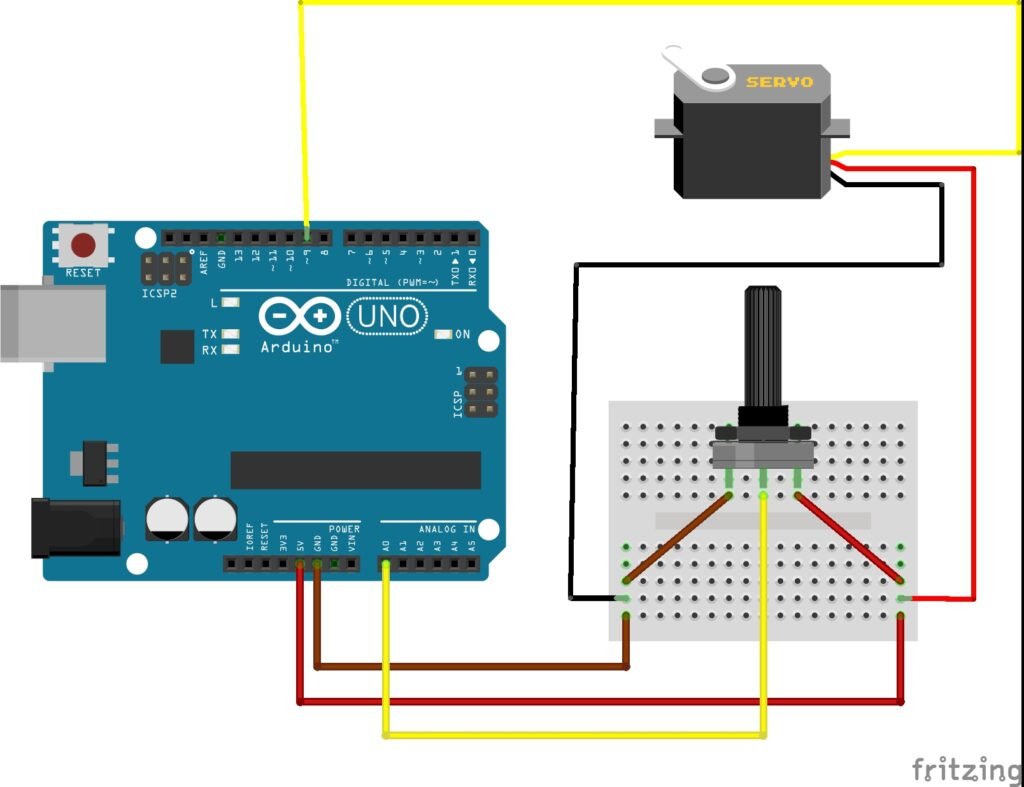
Servo motors have three wires:
- Red (VCC): Connect to +5V or external power supply
- Brown/Black (GND): Connect to Arduino GND
- Yellow/Orange (Signal): Connect to Digital Pin 9 on Arduino
Potentiometer wiring:
- One outer pin → +5V
- Other outer pin → GND
- Middle pin → Analog Pin A0 on Arduino
The potentiometer acts as a variable resistor, generating a changing voltage between 0–5V. The Arduino reads this analog signal, maps it to a range between 0–180, and sends this position to the servo motor.
Arduino Code
#include <Servo.h>  // Add servo library

Servo myservo;      // Create servo object to control a servo
int potpin = 0;     // Analog pin used to connect the potentiometer
int val;            // Variable to read the value from the analog pin

void setup() {
  myservo.attach(9);  // Attaches the servo on pin 9 to the servo object
}

void loop() {
  val = analogRead(potpin);      // Reads the potentiometer (0–1023)
  val = map(val, 0, 1023, 0, 180); // Scales it to 0–180 for servo angle
  myservo.write(val);            // Sets the servo position
  delay(15);                     // Waits for the servo to reach position
}
How It Works
- The potentiometer sends an analog voltage (0–5V) to pin A0.
- Arduino reads this voltage and converts it into a number between 0 and 1023.
- The map() function scales that number to match the servo’s range of motion (0–180°).
- The servo moves instantly to the corresponding angle.
- The loop repeats continuously, so the servo’s position updates as you turn the potentiometer.
Summary
This simple project shows how easily you can control a servo motor’s position with Arduino. By changing the potentiometer’s position, you can smoothly move the servo arm from 0° to 180°.
Once you understand this setup, you can apply it to more advanced projects such as robotic arms, pan-tilt camera systems, or precise mechanical control mechanisms.
Bir yanıt yazın