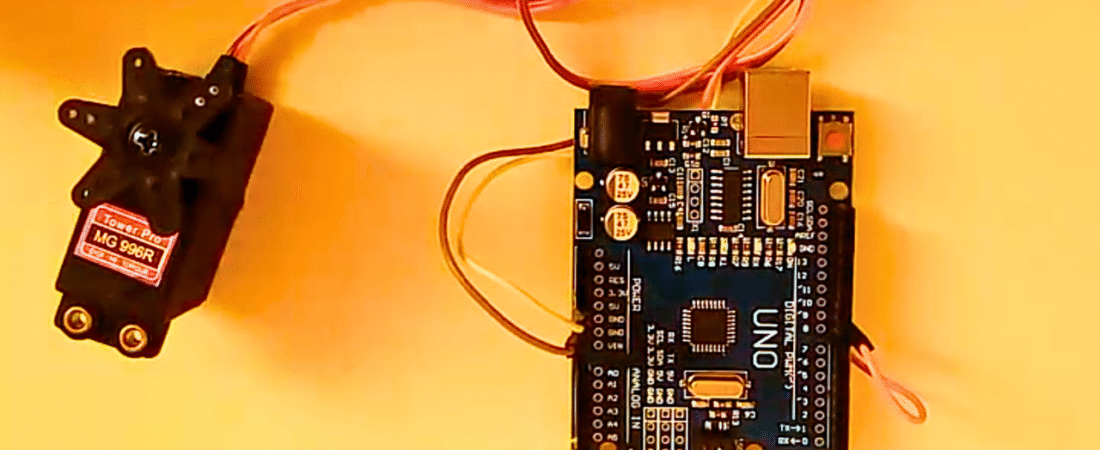
Servo motors are great devices that can turn to a specified position. Usually, they have a servo arm that can turn up to 180 degrees. Using the Arduino, we can send commands to move the servo arm precisely to any angle we want. As simple as that!
In this tutorial, we will see how to connect a servo motor to Arduino and how to rotate it smoothly between different positions using simple code.
⚠️ Important:
Do not connect the servo motor directly to the Arduino’s 5V pin if you’re using large or multiple servos. It is strongly recommended to power the servo with an external 5V supply to avoid overloading the Arduino. For small models like the SG90 Mini RC Servo, powering from Arduino is acceptable for short tests.
Components Required
- Arduino Uno board
- SG90 mini servo motor (or similar)
- Jumper wires
- Breadboard (optional)
- External 5V power supply (recommended)
Circuit
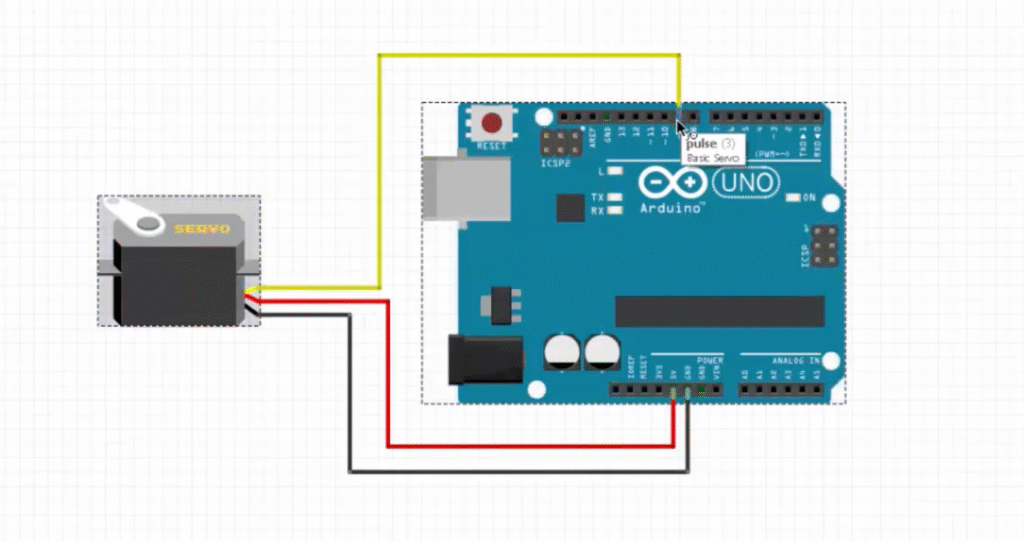
The servo motor has three wires:
- Brown or Black (GND) → Connect to Arduino GND
- Red (VCC) → Connect to 5V or external power supply
- Orange or Yellow (Signal) → Connect to digital pin 9 on the Arduino
The Arduino sends PWM (Pulse Width Modulation) signals through the signal pin to control the angle of the servo shaft.
Arduino Code
#include <Servo.h>  // Include the Servo library

Servo name_servo;      // Create a servo object
int servo_position = 0; // Variable to store the servo position

void setup() {
  name_servo.attach(9); // Attach the servo signal pin to digital pin 9
}

void loop() {
  // Move servo from 0 to 180 degrees
  for (servo_position = 0; servo_position <= 180; servo_position += 1) {
    name_servo.write(servo_position); // Move to current position
    delay(10);                        // Wait for servo to reach position
  }

  // Move servo back from 180 to 0 degrees
  for (servo_position = 180; servo_position >= 0; servo_position -= 1) {
    name_servo.write(servo_position); // Move back
    delay(10);
  }
}
How It Works
- The Servo library simplifies sending control pulses to the servo motor.
- The servo’s shaft moves based on the pulse width (typically between 1ms and 2ms).
- In the code, two for loops smoothly move the servo arm from 0° to 180° and then back to 0°.
- You can adjust the delay(10) value to control the speed of rotation.
This project is a simple yet powerful introduction to controlling servos with Arduino. Once you master this, you can integrate servos into robotic arms, camera pan-tilt systems, or even automated door projects.
Bir yanıt yazın